
What Happens When You Stand Up From a Chair Without Using Your Hands?
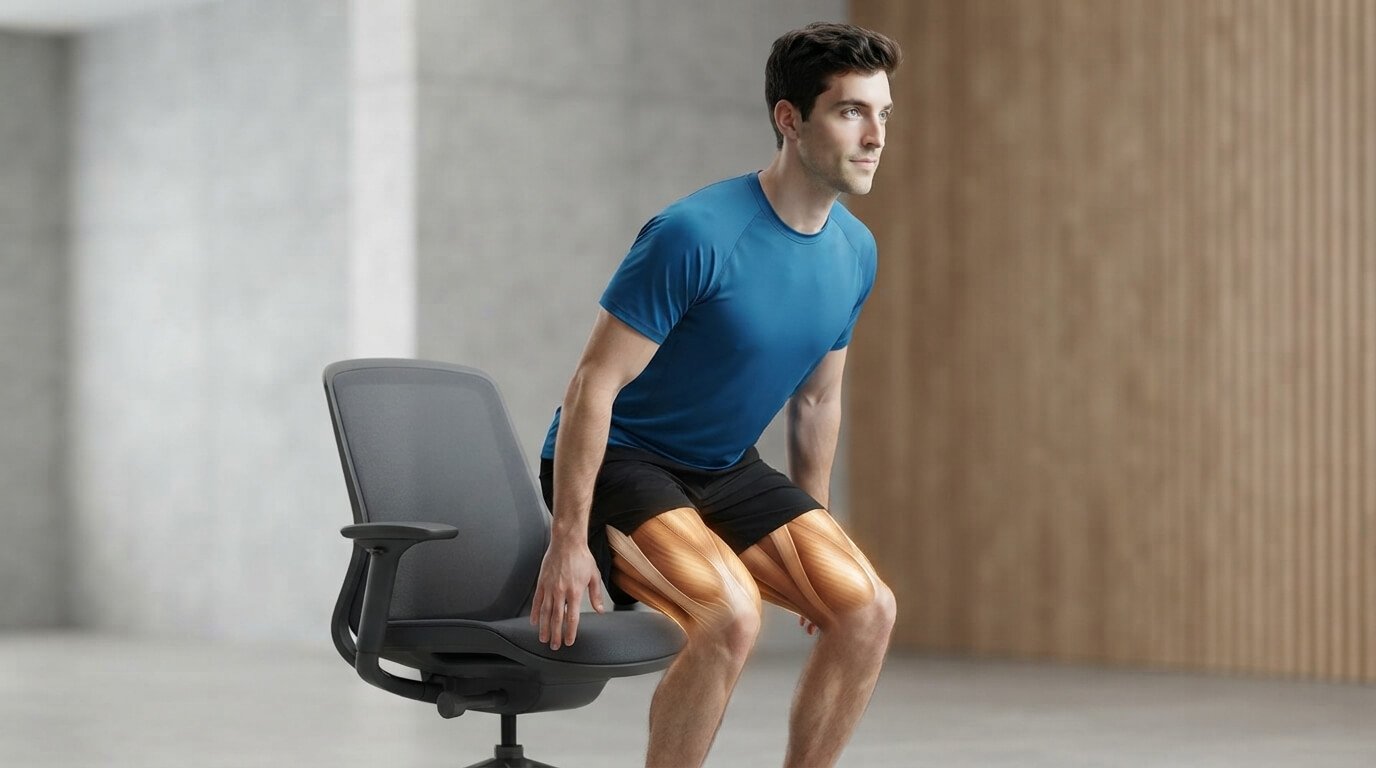
What happens to your body when you stand up from a chair without using your hands? It looks too simple to count as exercise. You do it dozens of times a day without thinking. But here’s what most people don’t know: that one small movement uses some of the largest muscles in your body in a sequence your brain has to coordinate perfectly. If getting up from a low chair or a low couch feels harder than it should, you are not weak. You are just out of practice on this one pattern.
⚠️ Disclaimer: This article is for educational and analytical purposes only. It does not constitute medical or fitness advice. Consult a qualified professional before starting any new exercise programme.
What the Sit to Stand Actually Asks of You
The sit to stand exercise is not really a leg exercise in the way people think. It is a whole body coordination exercise. To stand up without help, your feet have to press into the floor, your hips have to drive forward, your trunk has to stay steady, and your balance system has to keep you centred over a very small base. That is the whole point of the drill.
And it is how most of your day actually works. You get up from the toilet. You get out of the car. You get off the couch. In every one of those moments, you cannot grab a barbell or lean on a machine. You have to move your own weight with control. The sit to stand is practice for real life, not for the gym.
Watch the video above to see the movement in action.
How to Set Up
Start with a sturdy chair. Place the back of the chair against a wall so it cannot slide. Sit near the front half of the seat with your feet flat on the floor, about hip width apart. Slide your feet back slightly so your knees are over your ankles. Sit tall through your chest and look forward.
Before you move, lean your nose slightly over your toes. This small shift matters, because it brings your weight forward where you need it. Now press through your heels and stand up tall. Think about this: feet press, hips drive forward, chest stays tall.
Then reverse it to sit down. Reach your hips back toward the chair and lower yourself slowly until you just touch the seat. Do not drop. Touch lightly, then stand again. If you feel wobbly at first, that is information, not failure.
The Mistake Most People Make
Most people try to stand up by pulling the knees forward and pushing with the hands on the thighs. That gets you up, but it teaches your legs to do less. Another common mistake is holding your breath and rushing the hardest part. When you rush, your knees cave in, your chest collapses, and your balance disappears for a second.
The fix is simple and it feels slower at first:
- Keep your knees tracking over your second toe.
- Exhale as you stand.
- Take two seconds to stand and three seconds to sit.
If standing without hands feels impossible, you have not failed the exercise. You have just found your starting level. Shorten the challenge until you can do it with good control, because control is what builds strength here.
📊 Track your progress: Use our Strength Standards to benchmark your lower-body strength, or the 1‑Rep Max Calculator to estimate your squat strength.
What It Trains — and What It Does Not
So what is actually working?
- Quadriceps: The front of the thigh does most of the pushing to straighten the knees.
- Glutes: Drive the hips forward to finish standing tall.
- Calves and ankles: Keep you steady as your weight shifts forward.
- Deep abdominal and back muscles: Keep your trunk from folding as you move.
- Balance system: Learns to keep you centred.
Now let’s remove some of the hype. A sit to stand is not a treatment for knee pain, and it will not rebuild lost cartilage or fix arthritis on its own. It is one honest piece of a beginner leg and balance programme. If you have sharp pain, swelling, dizziness, or a recent surgery, check with your clinician before you train this pattern hard. That does not make this drill useless. It makes it safe and sustainable when you respect the limits.
Regressions, Progressions, and Your Weekly Dose
If a normal chair feels too low, start higher. Use a tall dining chair or place a firm cushion on the seat. Place your hands lightly on your thighs to help. Do six to eight reps like that. When that feels steady, cross your hands over your chest and do the same reps with no push. That is your true baseline.
If you want more support for balance, keep a countertop close on one side. You do not need to hold it, just know it is there. When eight slow reps feel controlled, make the chair a little lower. Then add a pause — sit, pause for two seconds without relaxing, then stand. Then slow the lowering to three or four seconds. Slow is not easier. Slow is the exercise.
As for dose: two sets of eight, two or three times a week, is plenty to start. You do not need to run faster. You just need to run smarter.
The Bottom Line
Try this today. Before you do anything else, do one set of eight slow sit to stands from a sturdy chair. Pay attention to one detail: which feels harder for you, standing up or sitting down slow? That answer tells you where your control is missing. Most people find the slow lowering harder, because it asks your muscles to work while they lengthen.
And if you already tried the bird dog, this is its natural partner. The bird dog teaches your trunk to stay steady while your limbs move. The sit to stand teaches your legs to move your whole body while your trunk stays steady. Same skill, new direction. Commit to one small thing, get one per cent better, and train smarter, not harder.
📺 This article was adapted from a PeakPhysic video. Subscribe to PeakPhysic for more science‑backed fitness insights.
Related tools: Strength Standards | 1‑Rep Max Calculator | BMI Calculator | More articles: Analytical Living
Author: Dr. Shirley Cheung. This content is for informational purposes only and does not constitute professional fitness or medical advice.